

Your garage is more than a place for your car and forgotten boxes. With the right upgrades, it can become a year-round indoor garden where you grow fresh herbs, vegetables and even exotic plants, regardless of Oregon’s rainy winters or summer heat.
Converting your garage into a thriving garden space requires planning and a few strategic improvements. From proper insulation and lighting to the single most important upgrade — your garage door — each step transforms an underutilized space into a productive, climate-controlled retreat. Learn how to plan and execute your garage garden conversion from start to finish.
The Benefits of a Year-Round Garage Garden
Garage gardening offers a solution to the limitations of traditional outdoor plots, providing distinct advantages that outdoor spaces can’t match:
- True year-round production: Harvest fresh lettuce in January and tomatoes in November. Your growing season never ends.
- Exotic and specialty crops: Grow heat-loving peppers, citrus trees or tropical herbs that can’t survive Oregon’s outdoor climate.
- Hours-fresh produce: Walk a few steps from your kitchen to harvest herbs and greens at peak flavor and nutrition.
- Organic growing without premium prices: Control your soil, eliminate pesticides and grow chemical-free produce at a fraction of grocery store organic prices.
How to Convert Your Garage Into a Thriving Garden
Making your own garage garden starts with understanding the major phases of the project. Breaking down the conversion into manageable steps makes even a large-scale transformation feel achievable.
Step 1: Planning and Design
Before any physical work begins, create a detailed plan. Decide how much space you’ll dedicate to the garden versus parking or storage. Sketch a layout that includes benches for potting and transplanting, shelving units for seedlings and supplies, and walking paths wide enough to navigate comfortably. Consider vertical space as well — walls and even your garage door can support planters in the right configuration.
Step 2: Preparing the “Shell”
Preparing the space is the foundational work that sets the stage for everything that follows. Deep clean the entire garage, removing years of dust, oil residue and debris. Seal any visible cracks in the floor or walls to block pests and prevent moisture intrusion.
Assess your floor’s drainage situation. If water pools near the door or in low spots, you may need to add a floor drain. Protect your floor by applying an epoxy sealant for basic container gardens, or install a raised subfloor system if you’re planning a hydroponic setup that will handle significant water runoff.
Address ventilation early by installing passive vents or planning for exhaust fans. This helps prevent humidity buildup and maintain fresh air circulation once plants are growing.
Step 3: Building the Interior and Running Utilities
If your garage has exposed studs, add drywall for a finished appearance and better insulation. Use water-resistant drywall where you’ll be watering or running hydroponic systems. Run new electrical wiring for outlets and dedicated circuits for grow lights — consult an electrician if needed for safety.
Plan your water supply and drainage. Container gardens need a nearby water source, like a utility sink or hose bib. Hydroponic systems require a dedicated water line with a shut-off valve and a floor drain or utility sink for wastewater. Ensure drain lines slope downward to prevent clogs.
Step 4: Installing Climate Control
Climate control is nonnegotiable for a year-round garage garden. Insulate all exterior walls and the ceiling to the recommended insulation level (R-value) for your climate zone. Proper insulation prevents heat loss during Portland’s cold, wet winters and keeps the space cooler during summer. Pair insulation with a small HVAC unit or portable heater and fan to maintain stable temperatures year-round.
Step 5: Upgrading the Garage Door
The most impactful step in your conversion is a purpose-built garage door that addresses both natural light and insulation in one installation, effectively finishing the “shell” of your new garden room. Professional garage door installation creates a weatherproof seal that keeps your climate-controlled environment stable and energy-efficient.
Step 6: Finalizing the Garden Setup
With your climate-controlled room complete, it’s time for the rewarding part. Assemble your shelving units and position them for easy access. Fill containers with quality potting soil suited to your chosen plants. Position your grow lights on timers to deliver consistent light cycles. Finally, bring in your plants and watch your garage garden come to life.
Key Factors for a Successful Garden
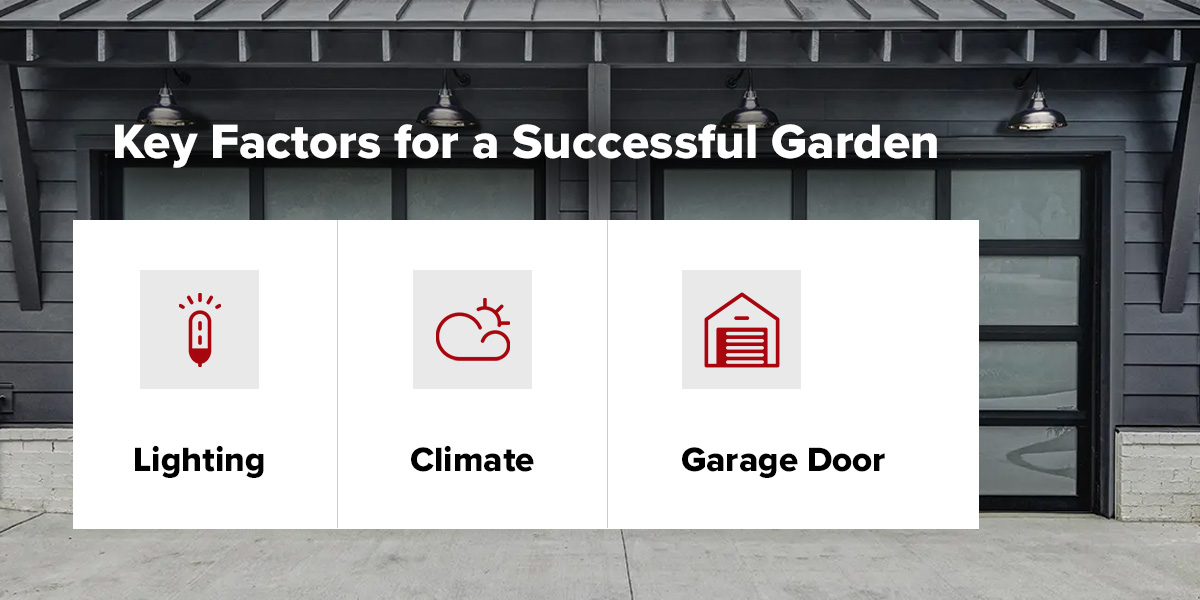
Understanding the technical requirements ensures your garage garden thrives. Three critical factors influence your success:
1. Lighting
Most vegetables need 12-16 hours of full-spectrum light per day to produce healthy growth and abundant harvests. While a window helps, your garage garden will rely primarily on high-quality artificial lighting. Different light spectrums support different growth stages — blue light encourages leafy vegetative growth, and red light stimulates flowering and fruiting. Using LED grow lights that combine both offers the most versatility.
2. Climate
A stable environment is essential for healthy plants. Most common edible plants thrive in temperatures between 65-75° Fahrenheit with humidity levels around 40%-60%. This stability is why insulation is so important — an uninsulated garage experiences wild temperature swings between day and night, and between seasons, that stress or kill plants. Proper insulation maintains the consistent conditions your plants need.
3. Your Garage Door
Your garage door choice directly impacts both your available growing space and your garden’s climate control effectiveness. Two key considerations determine which door works best for your project:
- Door type: Swing-out, carriage-style doors provide a stable surface for hanging vertical planters or hydroponic systems, effectively adding usable garden space, while standard sectional roll-up doors can’t.
- Door material: For natural light, full-view glass and aluminum doors maximize sunlight, creating a greenhouse effect. For climate control, insulated composite or steel doors provide superior energy efficiency.
Why Make Oregon City Garage Door Your Partner in This Project?
Converting your garage into a garden requires expertise across multiple trades, but the garage door upgrade is the most critical component. As proud Clopay® dealers, we specialize in installing the exact door types needed for ambitious projects like yours, from full-view glass designs that maximize natural light to heavily insulated carriage-style doors that support vertical growing systems.
We understand the unique requirements of climate-controlled spaces. Our installation teams ensure every door has a weatherproof seal that protects your controlled environment. Use the EZDoor™ Visualizer to see how different door styles and materials will transform your garage. We’re here to help you choose the right solution for your specific garage garden ideas and goals.
Start Your Garage Transformation Today
Ready to let the light in? A modern garage door is the key to transforming your garage into the perfect garden retreat. Whether you need a full-view glass door to maximize natural light or a highly insulated door for superior climate control, we have the expertise to guide you.
Oregon City Garage Door has over 30 years of experience installing garage doors. We can help you upgrade your garage from a simple storage area to a place where you can grow your interests, hobbies and even plants. Contact us today for a free estimate and discover how our expert installation services can bring your green room to life.
- A Guide to Making Your Own Garage Garden - July 27, 2026
- How to Fix a Detached Garage Door - July 15, 2026
- How to Paint a Garage Door - April 29, 2026